Monday, September 8, 2014

Cats in the garden


I've always been ambivalent about cats in the garden because of their instinctive drive to kill wildlife, but I live with a bunch of cat lovers, so there have been cats around my garden for as long as I can remember. Late last year we were forcibly reminded that domestication doesn’t exempt cats from being a part of the food chain when two out of our three were eaten by coyotes. I accept this as a natural occurrence, as coyotes have to eat too of course (unlike a letter writer in a local newspaper, who somehow though the city was at fault for not killing all cat munching coyotes in her neighborhood). However I was a little surprised at the dramatic effect this would have on my vegetable garden.

Broccoli after rabbits and quail
Last year I established my new vegetable garden in an area that had previously been covered in poison oak and I created the beds and planted with good success. This year, without the constant patrolling of the cats, the garden is overrun with quail and rabbits and any palatable green leaf is quickly shredded by one or the other. This has clearly illustrated how the cats made a signifcant contribution toward keeping the vegetable garden productive. For as long as their was a potential cat lurking behind every plant, the birds and rabbits only entered occasionally and nervously, but once this threat was gone (the one remaining cat is a little slow) they have felt comfortable enough to take up almost permanent residence. Now whenever I walk through the garden there is a flurry of wings and rustling of leaves as quail and rabbits flee in every direction. Cats also hunt gophers of course and were helping to keep those under control too.
Of course there are plenty of good arguments against keeping cats, but there are definitely beneficial aspects from a gardeners viewpoint. The reason cats were domesticated in the first place is that they are very good at killing the wildlife that humans find to be a nuisance. Unfortunately they don’t stop there, they will kill almost anything they come across that isn’t too big, including frogs, lizards, snakes and countless birds and small mammals. A recent study estimated the cats of America (80 million pets and about an equal number of feral cats) kill 1.4 to 3.7 billion birds and 6.9 to 20.7 billion mammals every year (this may be as many as 1 in 10 of all birds!)
There are other effective ways to keep small pests away from your garden, but none are as easy as cats. Being physically in the garden works, but of course this isn’t very practical to be there all of the time. Bird netting can be used to protect individual beds, but it is a pain to set up, and you have to move it aside for harvest, etc. Fences cost money to build, but work well for rabbits as they are probably the worst climbers in the world, but you need to fold out the bottom of the fence and bury it, otherwise they will dig underneath (they are very good diggers). You also need to use a small mesh - when I cornered a rabbit in my garden it squeezed through an opening in the fence that was little bigger than my thumb. It looked like the rabbit was made of foam rubber, I couldn’t believe my eyes. A fence is useless for birds of course, they will simply fly over it.

A rabbit went through these opening!
 
My daughter recently got a new kitten (my garden is paradise for cats), which will hopefully help to swing the balance a little more in my favor. Hopefully it will survive long enough. 
 Cat in chestnut tree

Tuesday, April 1, 2014

Layering

I was out in the garden taking photographs the other day and I noticed a blackcurrant plant that I layered last year (or was it the year before?) This is it, already turning into a respectable new plant.
Blackcurrant
 (It is not possible to have too many blackcurrants)

If you don’t already know about it layering, is a great introduction to plant propagation. It is so simple and easy it’s pretty much foolproof and works with many different plants, even those that are reluctant to root from cuttings. The best time to do it is in early spring before the buds open (which is now), though I have done it in early summer too (it may just take longer).

Goji Berry
 (this is also incredibly easy to grow from cuttings, which is even easier)

Layering is a pleasantly simple process if you have the right kinds of shoots in the right places. You take a flexible dormant shoot of last years wood and bend it sharply 12 inches from the tip. This may cause some of the fibers to crack, but that’s okay because wounded areas actually tend to root more easily. You can also wound it by scraping some of the bark from underneath the bend (wounding isn’t essential though). You then bury the bent part of the shoot by digging a small hole, holding the stem down and putting the soil back on top to hold it down. If it tries to pull out of the ground you can use a sharpened forked stick (or wire soil staple) to hold it down firmly. That’s all there is to it, just ensure that the soil doesn’t dry out completely and wait. An optional further step is to tie the growing tip to a stake so it grows upright (this will also help to mark it, which is good).


Highbush Cranberry
(Too bad the fruit is pretty much inedible)

I suggest you go out into your garden after you finish reading this and spend an hour or two going around layering branches. Next year you will thank me as you go around digging up all of your new plants (don’t forget to do some more). 

Soil blocks


Soil blocks are small compressed blocks of special sowing mix (this is not actually soil) used for starting seeds. They are one of the most ecologically sound method of raising seeds as they don’t require any kind of container, just something to sit them on for transportation.

The biggest advantage of soil blocks is that there is no root disturbance at all; once the plant roots fill the block it is planted straight into the ground. Because there is a relatively large volume of growing medium they are less prone to drying out and contain more nutrients so you can leave them longer before transplanting. They are especially useful if you are going to give a lot of plants away, as you don’t lose a container too.


There are a couple of drawback to soil blocks, the biggest being that you need a special soil block making press to make them (these come in several sizes, but the 2” one is most useful). Another is that the process of making them is relatively slow. 


I haven’t used soil blocks for starting seeds for a while, because I find recycled six pack containers simpler (I always go for the easiest option). However I made some recently because I wanted to take some photographs of the soil block making process.


The mix
Begin by mixing a batch of soil block sowing mix, which differs from other mixes in that it has to be cohesive enough to hold together when ejected from the mold. They also usually contain more nutrients. Here are three “recipes”:

2 parts peat (+ lime)
1 part soil
1 part vermiculite

1 part compost (or leaf mold)
1 part soil

4 parts peat (+ lime)
2 parts sand
1 part soil
1 part compost

Mix the ingredients thoroughly in a plastic tub or bucket, and then add one part water for every four parts of dry ingredients, to create a mix with the consistency of mud. The moisture level is critical, if you don’t add enough water, the dry mix won’t fill up the mold properly and won’t stay together when ejected from the mold. If you add too much water the mix may slop out prematurely, or may collapse when ejected. It’s not a bad idea to save a little dry mix for the not unlikely event that you add too much water initially. 


Making the blocks
Fill the mold by pressing it into the mix 2 or 3 times. You will know when it’s full because surplus liquid will ooze out of the top. If you put the mix in a 5 gallon bucket it can be deep enough that you can fill the mold with one press by rocking from side to side and pressing hard. Scrape the full mold across the top of the container (or with a trowel) to remove excess mix, put the mold on the chosen base and eject the block carefully. Rinse the mold in a bucket of water as necessary to stop the blocks sticking to them. Place the blocks close together to minimize hiding places for slugs and earwigs, but not so close that they are touching (which may cause roots to travel from one block to another). Don’t try to move the newly made blocks as they aren’t very strong and may disintegrate if roughly handled.


Planting  the blocks
Just drop the appropriate number of seeds (usually 2 - 3) into the indentation on top of the block and cover with a little soil mix (or don’t cover them at all – in which case you must be careful they don’t dry out). The blocks don’t really need watering for several days, but I like to mist the surface to wet the seeds thoroughly.


The blocks get more cohesive as the growing roots of the plant (or plants) bind it together and eventually you can handle it quite roughly without it falling apart. If the plant gets too big for the block before you are ready to plant out, simply plant them in a 4” pot.


Tomatoes germinating 

The same plants a couple of weeks later. The blocks are green because they have been somewhat wetter than is ideal.


Friday, February 28, 2014

Real rain


Here in California we finally seem to have moved on from the perpetual springtime we have had all winter and have entered a more seasonal weather pattern. In the past couple of days we have had 5” of rain with more forecast for tonight. We are in the middle of what is called a pineapple express storm, which according to wikipedia is an example of an atmospheric river. Apparently these are essentially rivers in the sky, thousands of kilometers long and several hundred kilometers wide and amazingly they may carry more water than the Amazon (that’s what it says anyway!)


 Two days rain

Rain is something most people don’t give a second thought to, except as an inconvenience. It is only when it stops raining for a long period do you start to realize its importance. Having grown up in rainy England  (actually not that rainy – I get more rain in my garden here than I ever saw when growing up) I have always a hard time really appreciating the rain. It is only recently, after 10 months of almost no rain, for the first time in my life I can understand how wonderful it is, as it changes the color of the landscape from brown to green. Water falling from the sky and landing right where you want it (instead of coming from a tank through a pipe with a pump) is a near miracle. The fact that it then sits in the soil until needed by plants is equally amazing. Yet another miracle is when it falls as snow in the mountains and sits there for months before it melts and gradually runs down to us.

As gardeners we should think about the rainwater that falls on our property and where it goes. We should make sure that any rainfall that lands in our garden has a chance to soak into the soil and doesn’t run away down storm drains. Incidentally an inch of rain adds up to around 27000 gallons per acre, which at 1.5 cents per gallon adds up to around $400. I hate to quantify and put a price on nature, but I mention it to show how much she gives that we take for granted.

Wednesday, February 12, 2014

Stinging nettle time


Winter is the season for stinging nettles in my garden. Urtica dioica is considered to be the best species for food, but all native species can be used in the same ways and that includes Urtica holosericea which grows wild in my garden.

At first glance stinging nettle would appear to be an unlikely food, but to the initiated it is one of the most useful common wild foods. It is very nutritious, widely available, easy to identify, often available in abundance and it tastes good enough that it has been cultivated as a food crop. Of special importance is that it appears very early in the year (from mid winter to late spring), when few other foods are available. In fact it is only useful at this time of year, while the plants are young and up to 8 or 10” high. Not only does the plant get tough as it gets bigger and summer progresses, but inedible crystal deposits form in the leaves.  

You sometimes hear stories of people reduced to eating nettles during wartime, but this gives a false idea of them as purely a famine food. Nettles are actually extremely nutritious and in such circumstances you couldn’t eat anything better. They contain more protein than almost any other green leaf, large amounts of chlorophyll, vitamin A, several B's, lots of C and D and an abundance of minerals including calcium, iron (one of the richest plant sources), manganese, phosphorus, potassium, silicon and sulfur. All of these nutrients would be tempting to any self-respecting herbivore, which is why it has to protect itself as it does.

If you are familiar with this plant and its propensity to sting anything that touches it, you will already know that it can’t be eaten raw. In fact you will have to protect your hands with gloves (or anything that comes to hand) while gathering the young shoots and leaves. Only a few minutes cooking are enough to wilt the tiny needle like hairs that inject their poison and make it perfectly edible. A few minutes of boiling, steaming or stir-frying are necessary to produce an excellent potherb and they can be used in any recipe that calls for spinach (I like to use it in sag aloo, an Indian spinach and potato curry). They are probably the greenest thing you are ever likely to eat and will make anything a deep green color.

If you really get into nettles they can be dried and powdered for adding to bread, soups and other dishes to increase their nutritional value (and turn them bright green too).

Though you can’t eat older plants, they have been used as a source of fiber for cordage, rope, netting, paper, sail cloth, sack cloth and even fine fabrics (it was said to be better than flax).

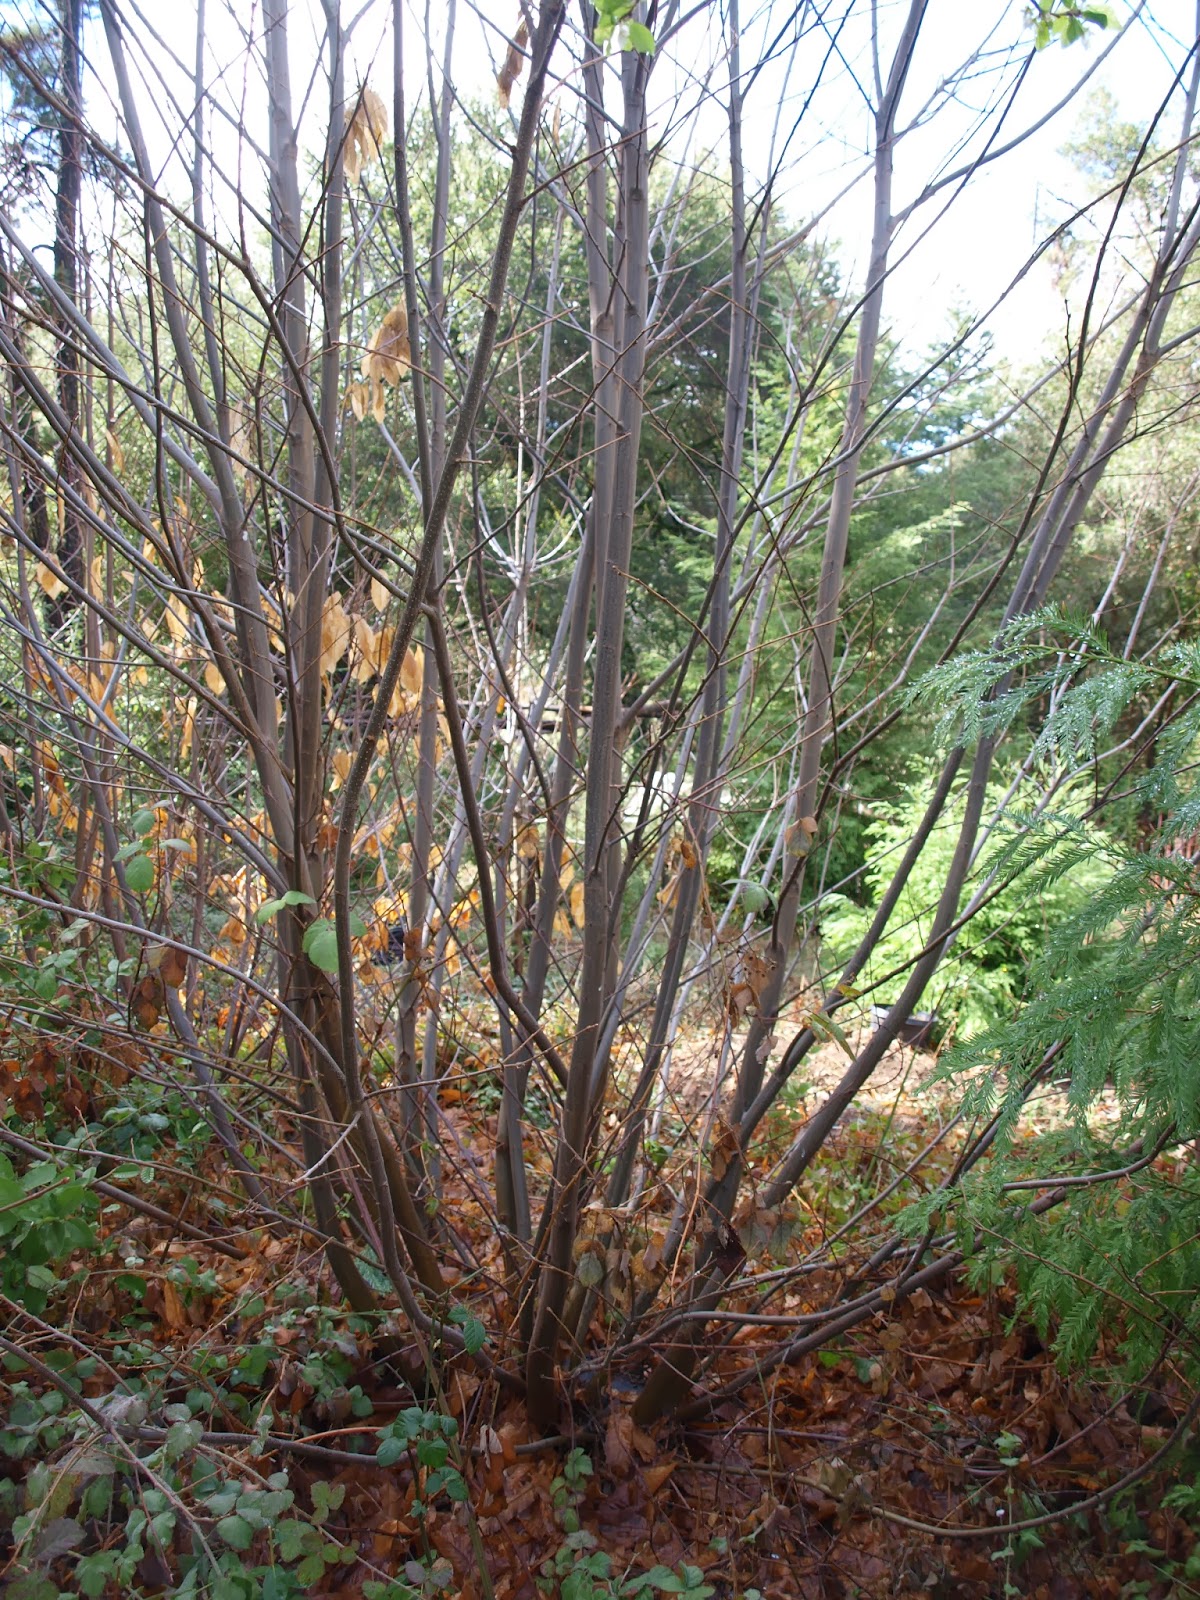
Coppicing chestnut

A lot of people seem to find this site when looking for information on coppicing, so I thought I would post a few pictures I've taken of the process of coppicing some chestnut trees in my garden (and a couple of making fence posts).


Tuesday, February 11, 2014

Hugelkultur variation


I am still developing my new vegetable garden site (which was previously a poison oak patch). The soil there is already pretty good, but I recently started a major project to improve it. This was inspired by a huge pile of half rotten wood that is taking up far too much space around a walnut tree. I have decided the best way to get rid of it, is by using it to make some hugelkultur inspired beds. I wouldn’t exactly call them hugelkultur beds because I am keeping them low (I am afraid they would lose too much water in summer if they were taller). 

Wood is actually a very good source of nutrients and energy for the soil, but is very high in carbon when new, which means it can take nitrogen from the soil during decomposition. Half rotten wood is already well on the way to being broken down, so doesn’t have this problem.

I am taking a fairly quick and easy approach to making the beds. I have been digging out 6” of soil, filling the excavation with old wood, covering it with a layer of horse manure (some fresh, some aged) and replacing the soil. This raises the bed somewhat, but I’m expecting (wanting) it to sink significantly, to leave a very slightly raised bed. I will keep doing this until I run out of wood or energy, whichever comes first.